Collection
First Flight: Face Up
 Cait
CaitThis playlist is part of our Rope Resolutions challenge to help make 2026 your knottiest year yet, so practice regularly this January to earn your streaks and win a prize. Find all of the details in our Community!
Pre-requisites: An upper body harness that is suitable for face-up suspensions. The rigger should know it by memory, and it should be comfortable and sustainable for the bottom. Choose a harness that you’ve tied together several times and test loaded at least once or simply use the harness suggested in this playlist.
This playlist is designed for riggers and bottoms in the early days of their suspension practice when support, stability and sustainability matter most. If you’ve already been learning suspendable harnesses, using inanimate objects to develop upline skills, and can confidently communicate with your tying partner on the floor and in partials, this one is for you. This collection is all about guiding you towards that first face-up suspension – think safety, drills and skills, and the perfect hands-front harness for achieving lift-off.
While there’s room for adaptation, the simplest way to learn this is to use the suggested harnesses. If you want to use a separate hip harness and other upper body harness, that could work too. You could give yourself an added challenge of opting for a different upper body harness but using the same logic as in the video to incorporate hip support. Consider: how does the hip support get added and what elements would you need to see/not see to know if you could do the same thing to a different upper body harness?
Our suspension playlists are made for slow and gradual learning. Give yourself plenty of time to learn the information and to practice as you go. Only once you feel confident with one technique is it time to move onto the next. By the time you reach the final video, all the skills and techniques you use should feel like muscle memory and like you’re well prepared for the exciting challenge ahead.
Heads up: For your safety, read through the following considerations before attempting the final class:
· If possible, always do your first suspensions under the in-person supervision of a trusted instructor.
· If attempting this outside of a rope studio environment, have another person available to assist in case of an emergency.
· There’s an important "double bight" technique contained within the basic anchoring course. Make sure you find it and understand it so you can use it in the final suspension.
Show moreShow less
12 videos
 09:58
09:58Maete Harness | Tutorial
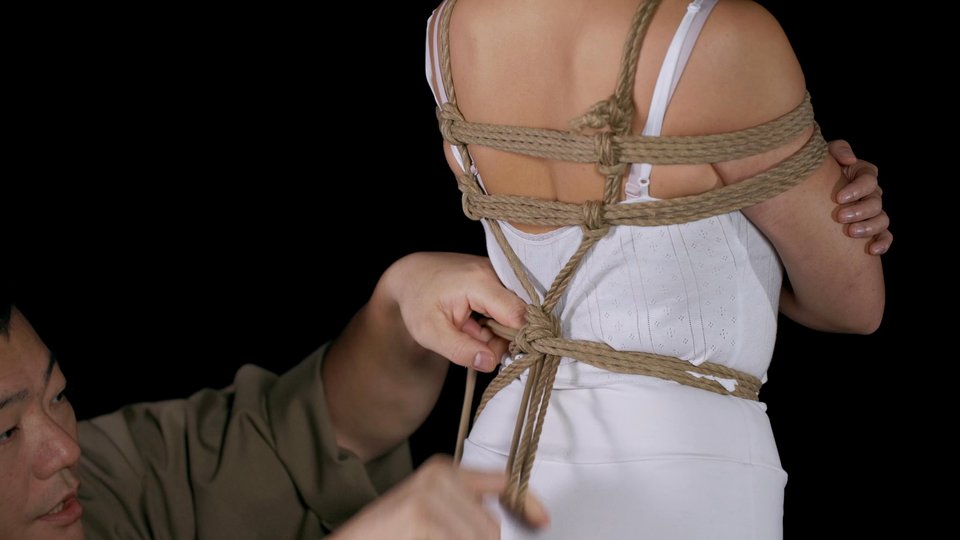
In the first class, Kinoko offers a step-by-step demonstration for how to tie the Maete harness.
 03:00
03:00Adding The Hip Harness
In the second class, you’ll learn how to add a hip harness that will offer even more stability in the suspension to follow.
 05:59
05:59Upper Lock-offs
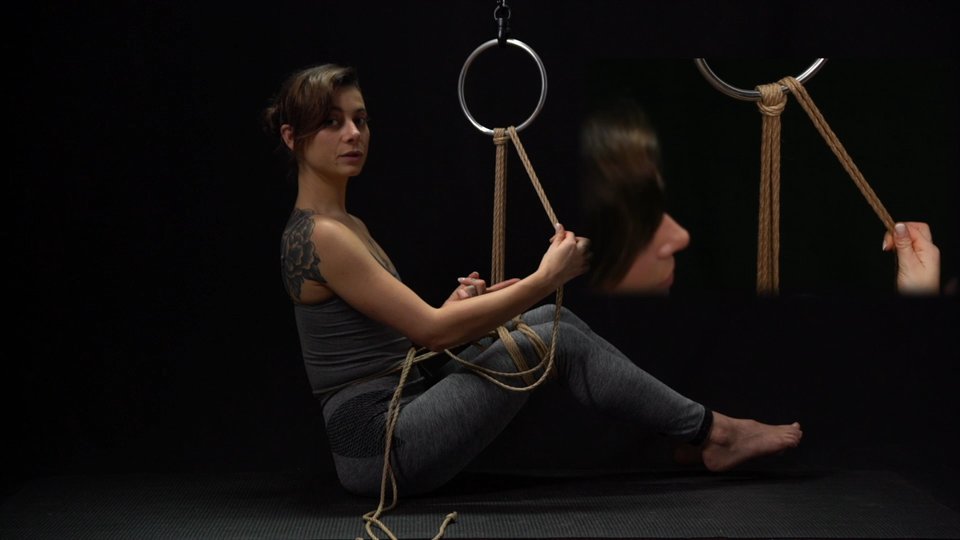
Locking a suspension line from the ring's side.
 11:49
11:49Lock-offs and Finishing Options
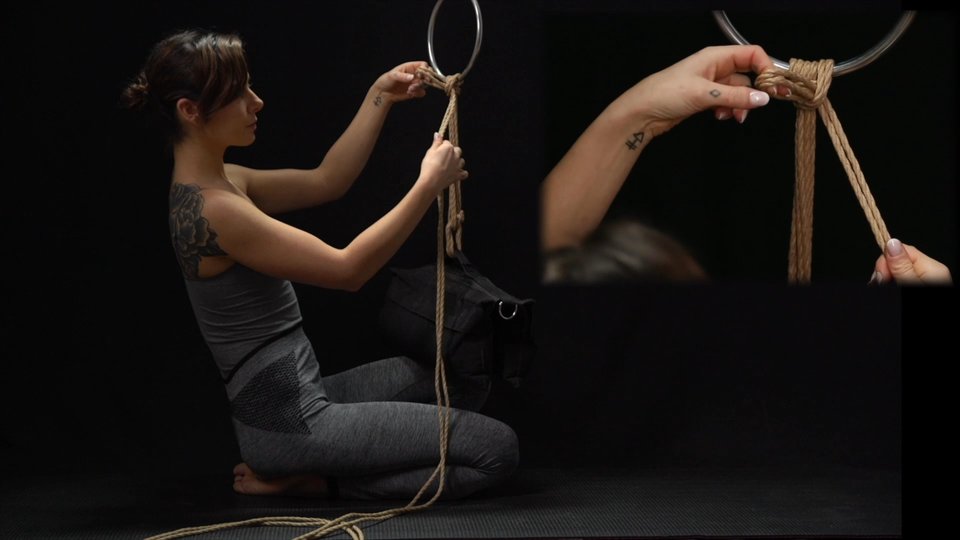
Explanation and demonstration of various locks and finishings on a suspension line.
 10:26
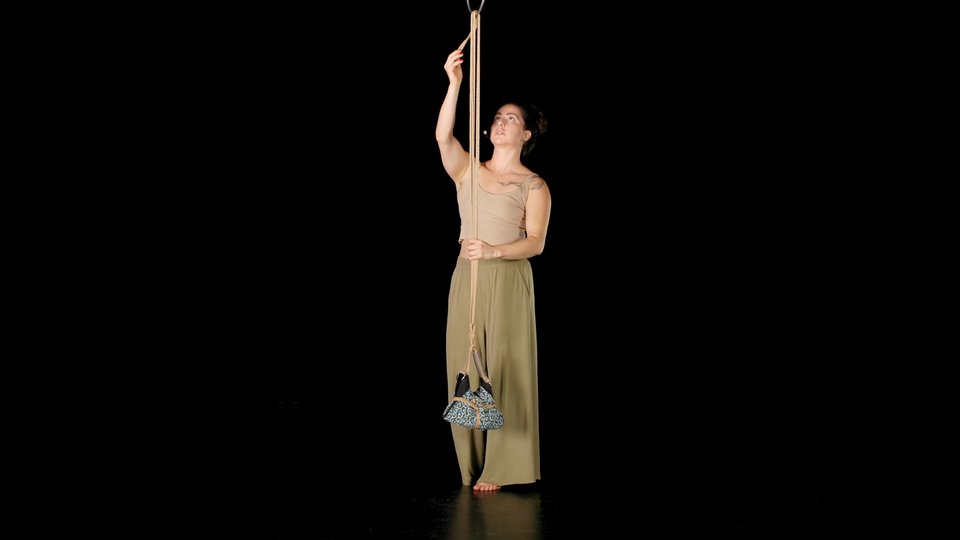
10:26Handling Drills for Uplines | Half-Hitches
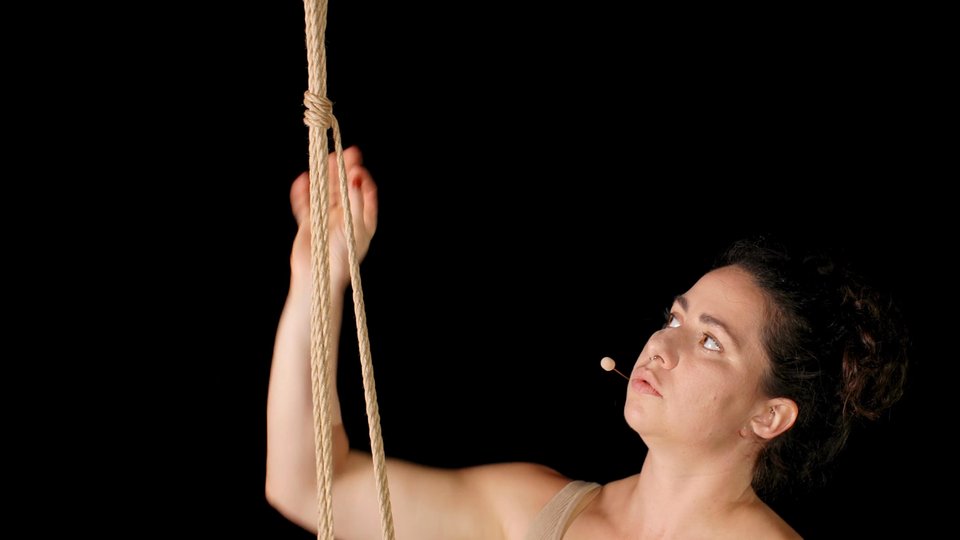
The first drill focuses on smart tying techniques for tying and untying an upline that’s locked with two half-hitches.
 10:49
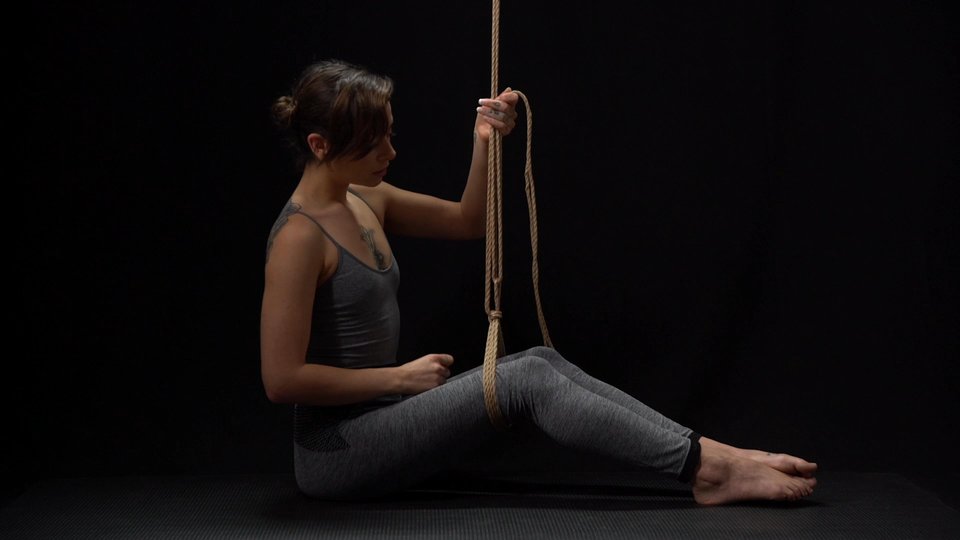
10:49Handling Drills For Uplines | Slip Knots
The second drill focuses on tying and untying uplines locked with a slipped overhand knot.
 03:48
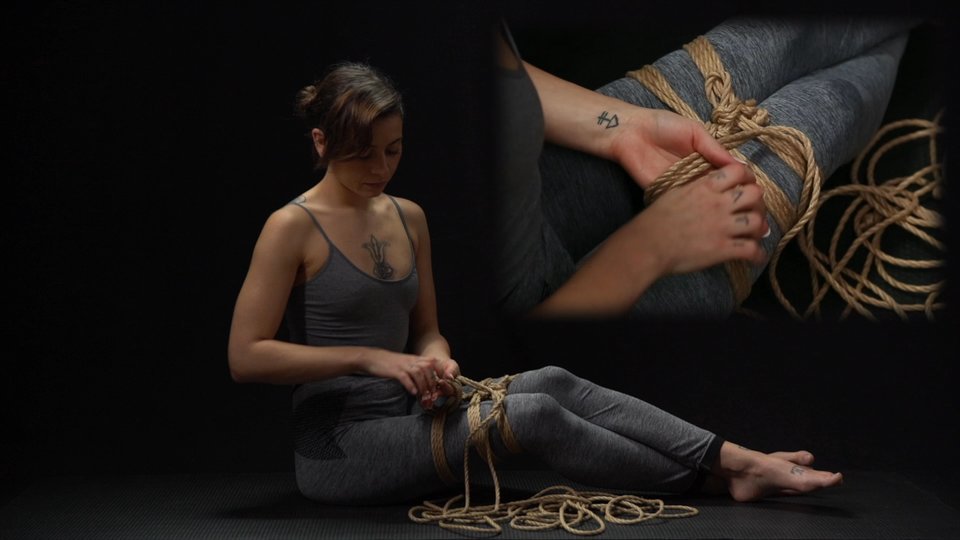
03:48Basic Anchoring
Basic line anchoring and double bite.
 02:51
02:51Epsilon | 'Y' Hanger
Epsilon aka 'Y Hanger' line anchoring technique.
 02:11
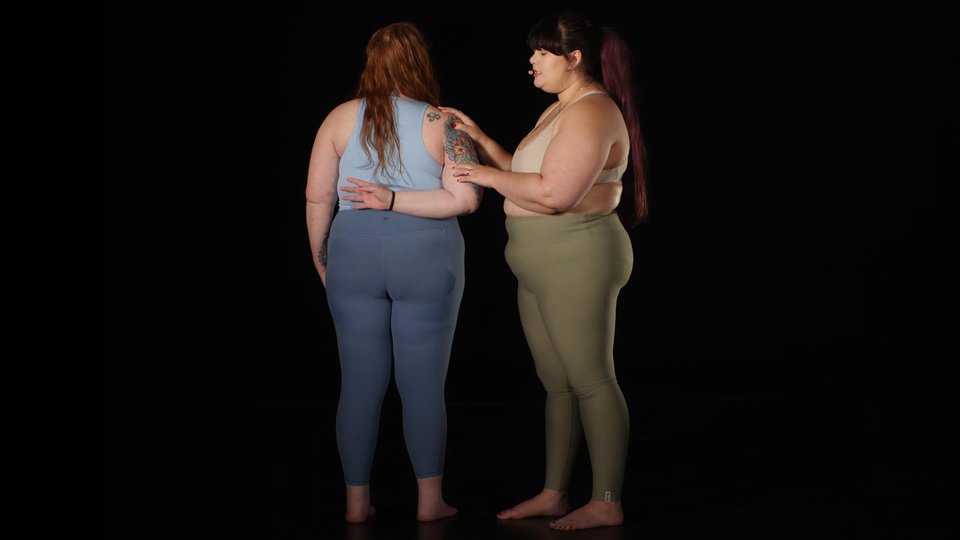
02:11Upper Body Nerves
Cait discusses the nerves of the upper body with a special focus on those most commonly affected in rope bondage.
 08:48
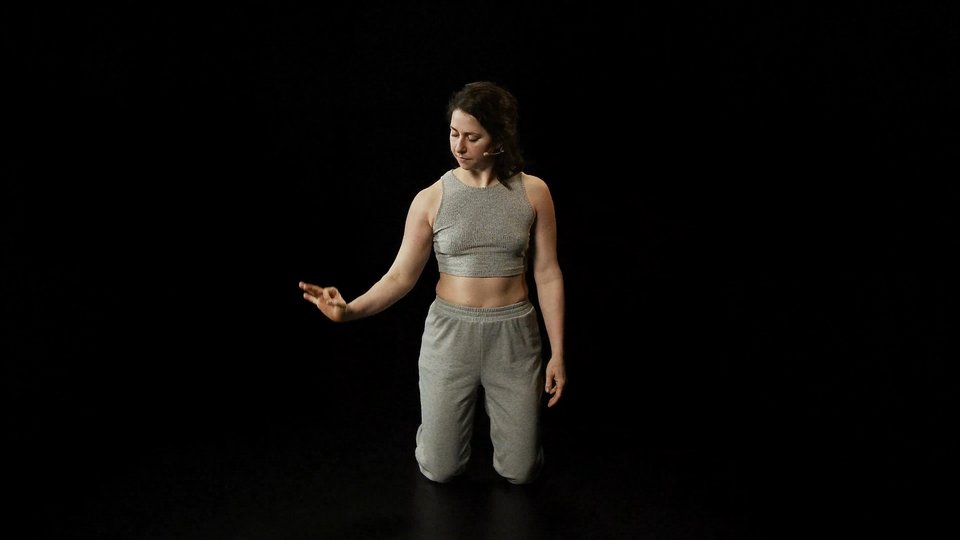
08:48What To Look For?
Explanation on what to look out for when checking hands.
 02:23
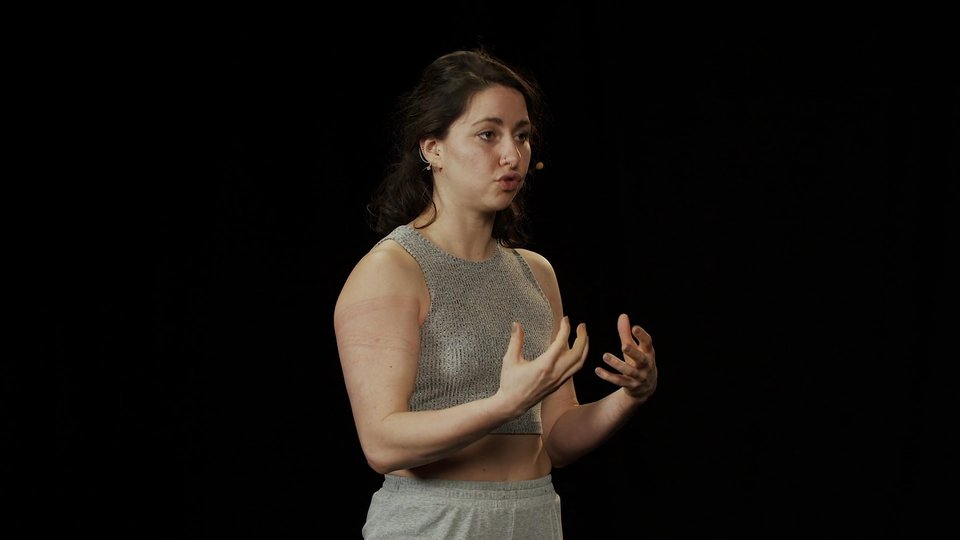
02:23How To Do Checks?
Explanation and demonstration on how to do hand checks.
 06:53
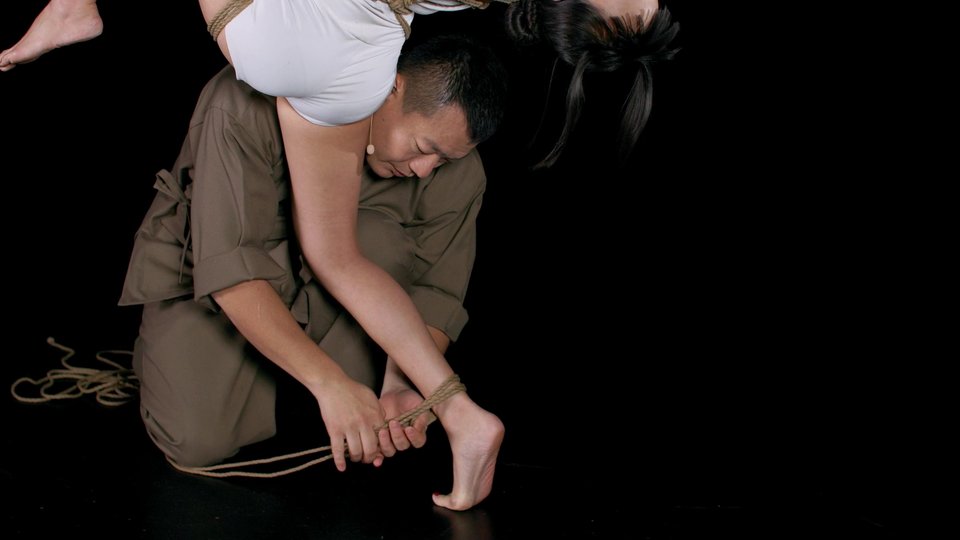
06:53Maete Harness | Suspension
In the final class, Kinoko demonstrates how to suspend the tie.